

There are a variety of aspects to consider for creating your projected Virtual Presenter. The concept of a virtual person displayed as a hologram was featured in Star Wars with Princess Leia sending an urgent message to Luke Skywalker.
Whilst we are not shipping a full size 3D hologram the next best thing on your shop floor is a Virtual Projection Mannequin which is based on using the ICE Projection polymer, an outline substrate and a projector. To this we can then add a range of smarts such as a presence detector, distance detector, approach detector as well as interactive elements.
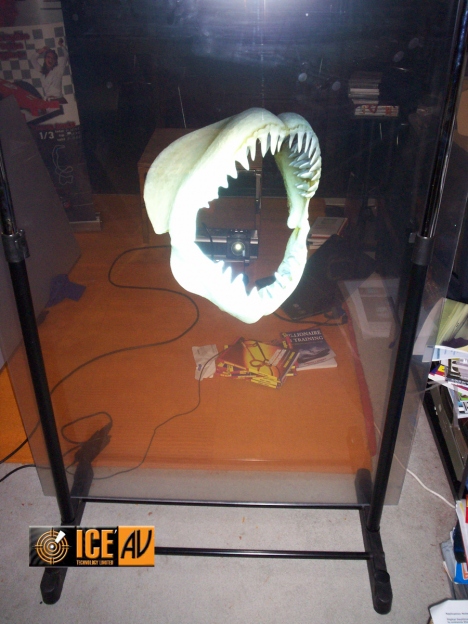
Our choice of image surface polymers range from dual imaging, 90% transparent – see thru or high contrast surfaces. Here is an image of a sharks jaw using our HoloLite90 polymer film.
Holographic projection
You will need to consider if it is based on a real person, if so then this person should be available later when you create your video marketing content…or at least a very close body double. This of course will incur ongoing fees for the acting talent. Another aspect to consider are the advantages of using a staff person.
In both cases good poise, presentation skills, pronunciation and voice skills are at the top of the list to deliver a quality presentation. So once you have decided who your virtual person will be based on, then production can start.
First we need a good quality image from you. The model should be photographed against a uniform background with clear contrast between the person and the back ground.
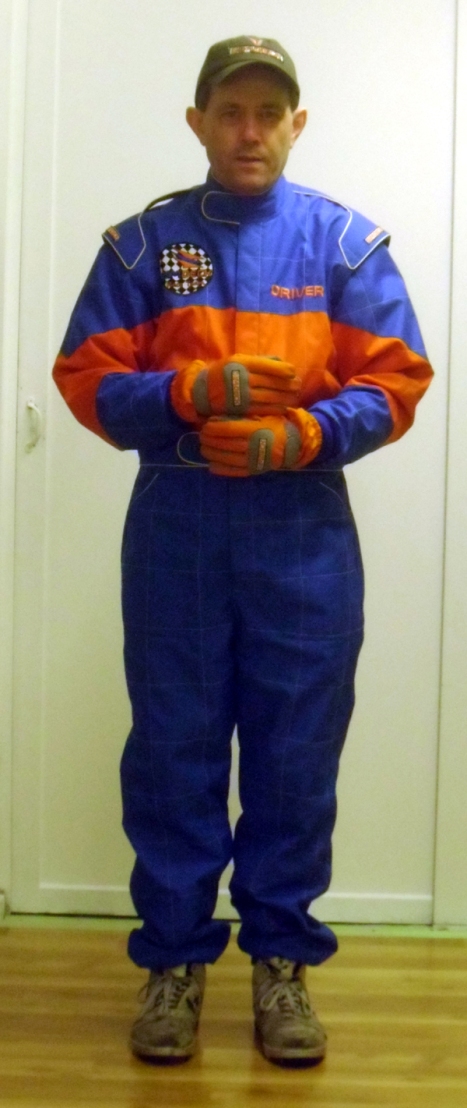
First identify who your presentation model will be.
Ensure that there are no extruding pieces of clothing and hair so that a uniform outline can be created. Remember that this will also be the shape you will need to video tape later with your model as you create your content. Of course if you are really organized the cutting outline photo could be created at the same time you make your message videos.
So once you have supplied us with the photograph we then go thru these visual steps to create an accurate file we can load into the cutting router.
Preparation Steps
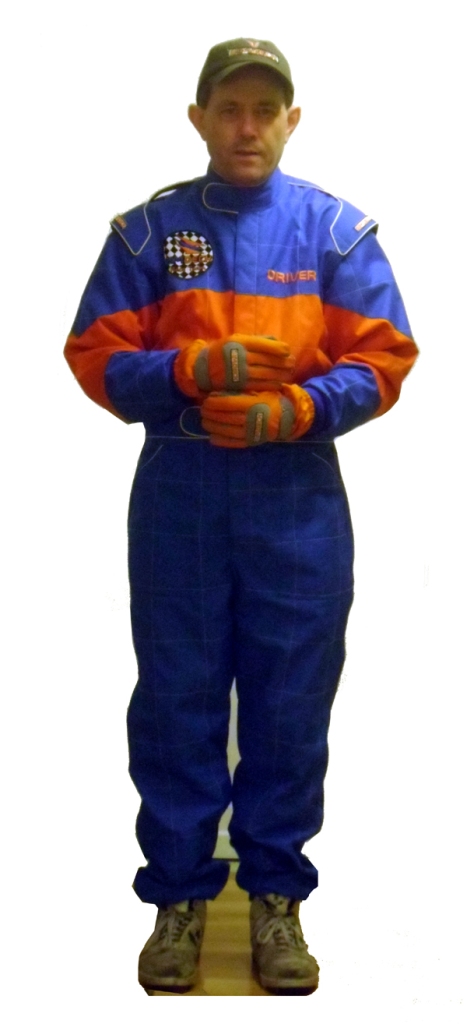
The image is clear cut from background
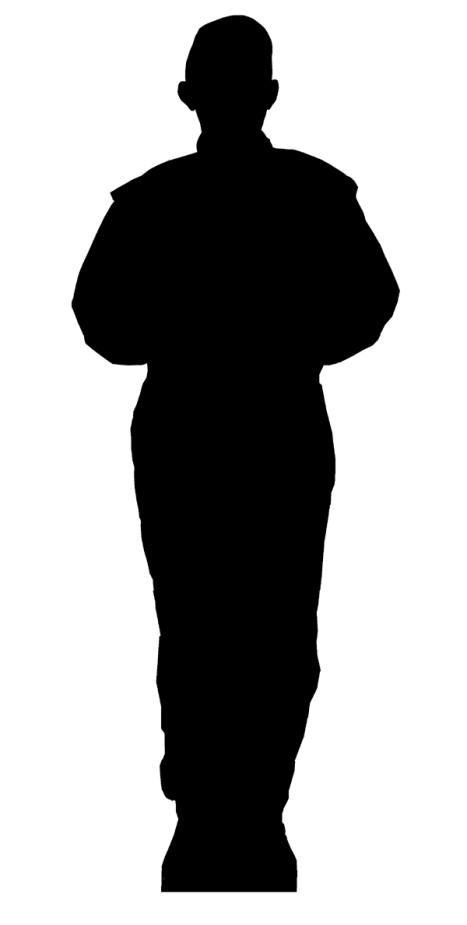
Next we create a high contrast mask of the model.
Virtual presenter files
From this file we can move onto the next step of creating the outline of the presenter. 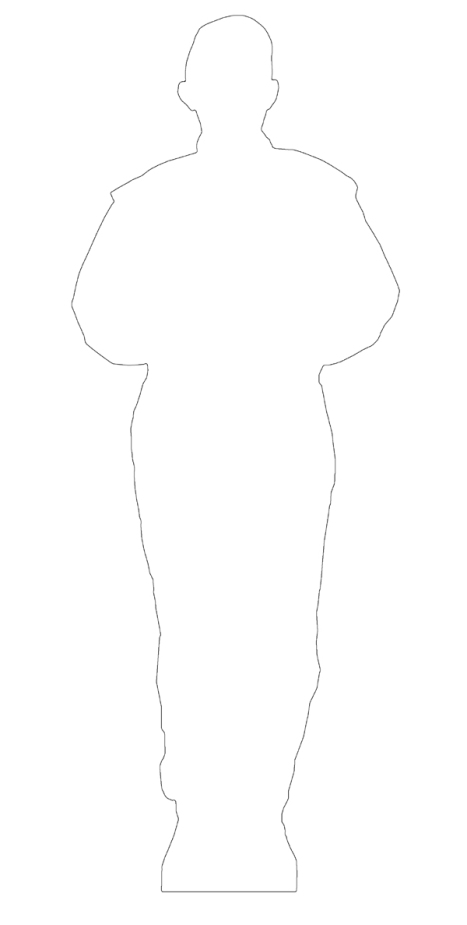 The outline is prepared for the next step to create a cutting file[/caption]
Once this file has been created we can create the all important DFX file that can be read by the router machine.
Once this step is completed we next apply the seamless projection polymer layer, dress the model if required, mount onto the floor base, setup the projector, connect the media system and your system is now ready to talk 24 hours non stop….make sure you know how to turn your presenter off !
In this photo we have not cut out the shape of the model and simply applied the Hololite90 direct to the substrate.
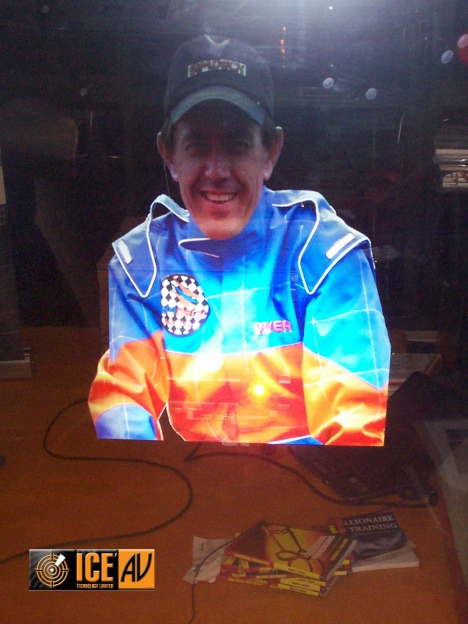
90% Transparent projection polymer allows the viewer to look through the image.
If you are looking towards creating a progammable Virtual sales Person, who never takes days off sick, will stop visitors in their tracks. It has been shown that if an actual person conveyed the same message in person at your expo, people would ignore the presenter. It has been found however that a Virtual Presenter will attract attention and cause visitors to at least pause for a while. Some will even stop and take photos, all because the concept of a Virtual Presenter is a rather new and novel concept in the public domain.
Filed under: Products | Tagged: holographic person, holographic presenter, projection sales person, virtual presenter | Leave a comment »

